Saturday, January 5, 2019

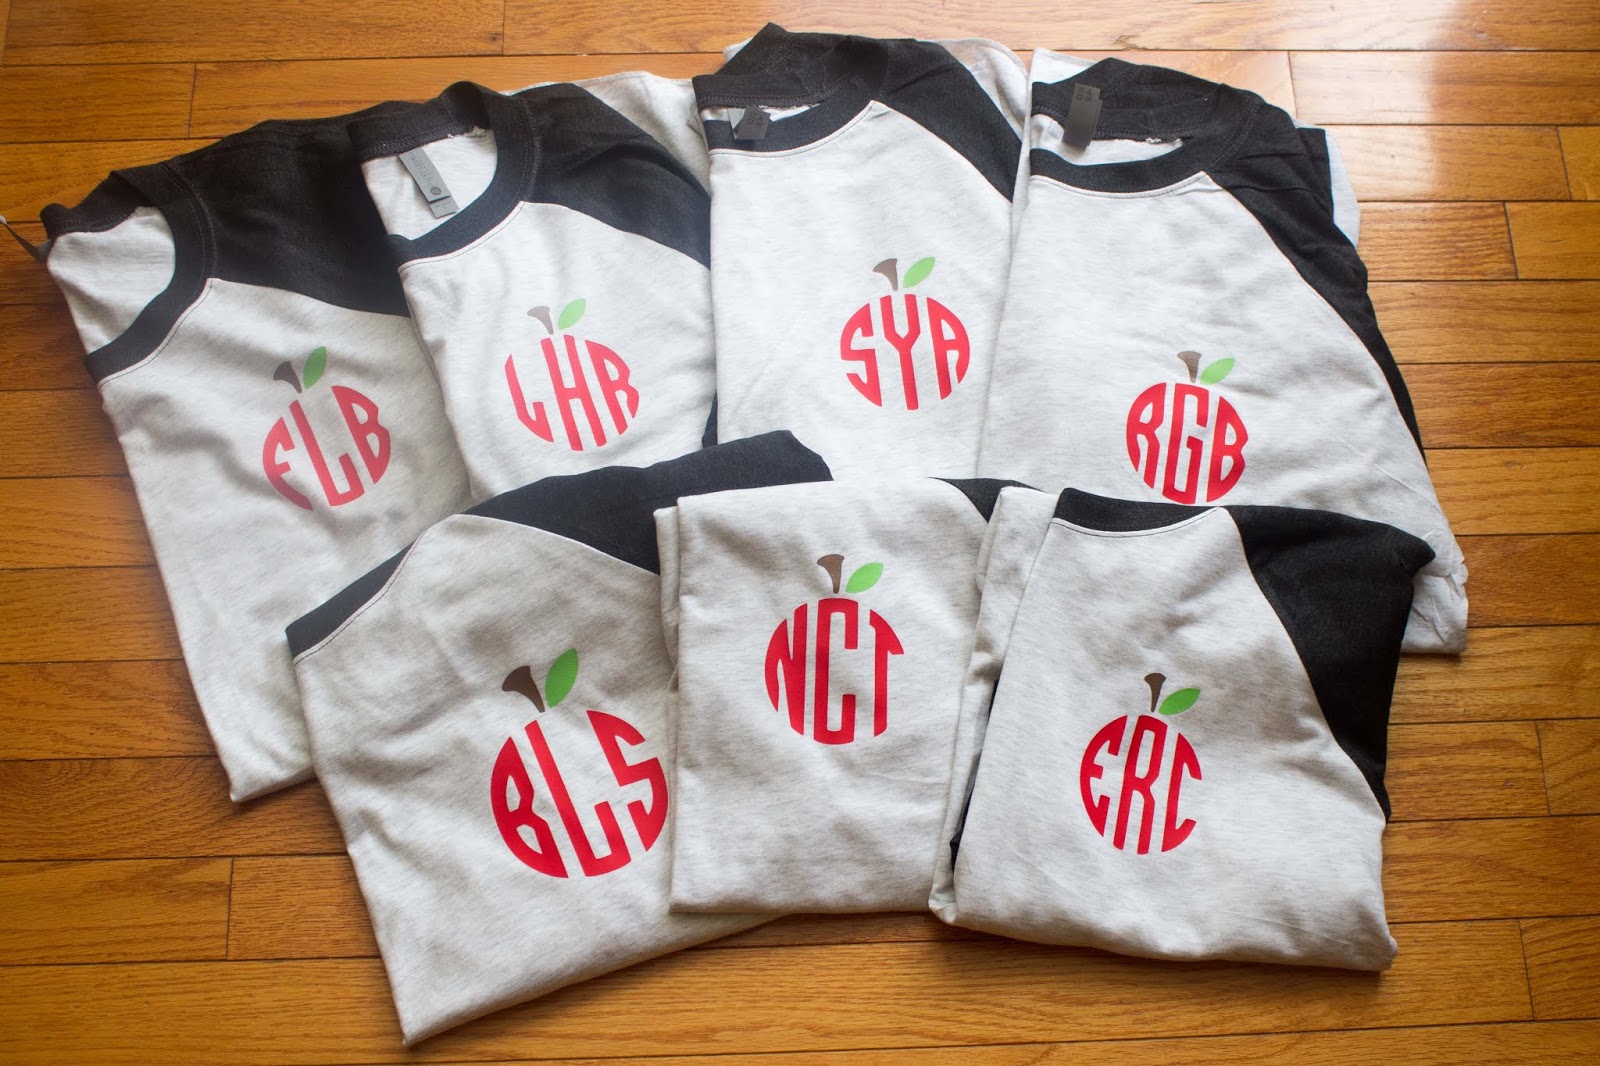
I am a 1st grade teacher.  I love making new shirts using my Cricut.  All of the shirts were made with heat transfer vinyl using a heat press (highly recommended).  I also recommend turning your shirts inside out to wash and hanging them to dry so the vinyl won't age/crack too soon.  More than likely, your vinyl will eventually crack or it can come off if you put the shirts in the dryer.  I refresh my shirts quickly in the dryer if they are really wrinkled.  I also recommend making sure shirts that are layered are sliced first so there won't be so many layers on top of one another.  


Aqua blue shirt from Bella+ Canvas & svg file from Etsy


What a beautiful color this mint green Bella + Canvas shirt was!


This shirt turned out beautiful.  The sparkly blue Siser HTV is my favorite.  I got this from Craft Vinyl.  You must read the rules if you are going to buy from here.  I bought the mint green htv from Michaels, and ordered the black htv from Amazon.


These Next Level shirts are so soft and comfy.  I ordered them from www.jiffyshirts.com.  


Christmas Shirts Made With My Cricut Explore

I have owned the very first Cricut and have now owned my Cricut Explore since it first came out.  I have had lots of practice creating things, and have watched many videos on YouTube to help me learn more.  I love creating things with my Cricut.  I also own a heat press.  I highly recommend a heat press if you are going to be making lots of shirts.  It is worth the price.  

I get my svg files from many different places.  Some of my favorite places are:  Scout and Rose, Poplar and Pearl, Lovesvg (lots of freebies), Apex Cuttables (freebie almost daily), Burton Avenue, and Etsy. 

Here are just a few of my Christmas creations I've made over the years.  

My sweet boy loves the Ninja Turtles & Chick-fil-The red shirt was from Walmart.  I designed this one.
 Believe Santa Shirt
This white shirt was a Haynes shirt from Walmart (mens section).  
 I'm loving this joyful shirt.  This shirt was a Fruit of the Loom (mens section) from Walmart. 
I designed this one.
 This shirt is from a few years ago.  The deer is silver glitter, and the shirt was a long sleeve navy men's shirt from Walmart.
 Christmas Tree Monogram shirt  
The red shirt was from Walmart.  The vinyl is lime green, vegas gold, and silver glitter.
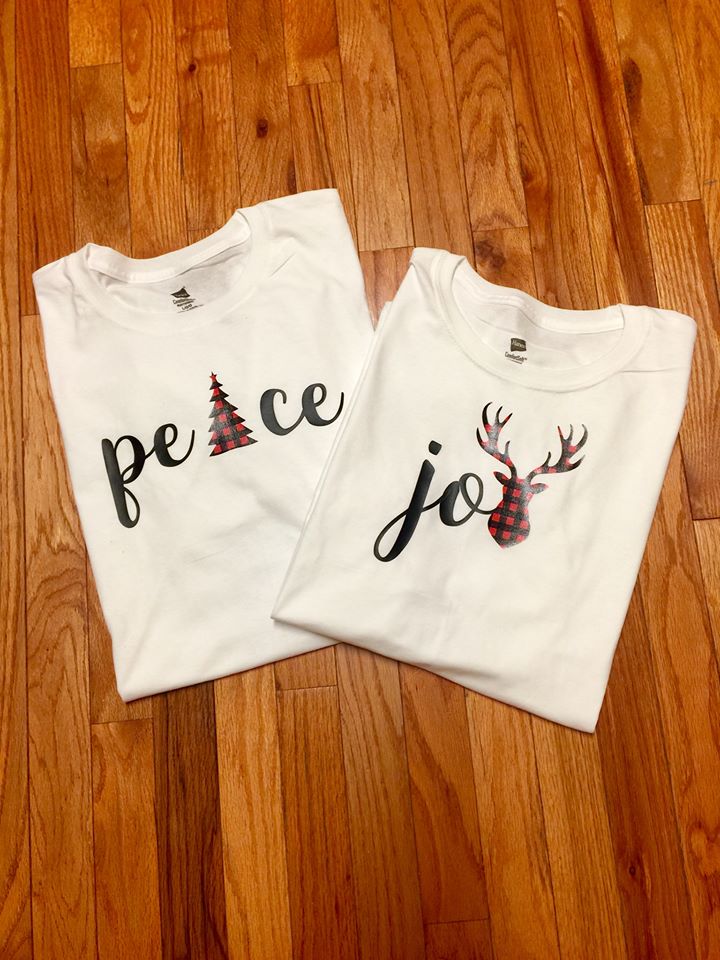
 Peace and Joy with Buffalo Plaid Print & black HTV
I designed these.  
 Simple, yet one of my favorites.
merry. on a navy Gildan short sleeve tee
I designed this one.
 Dachshund Through the Snow
men's grey long sleeve shirt
The svg file was from Etsy.

 My little ones looked so cute in this Santa shirt.  The svg file was from Apex Cuttable Designs.
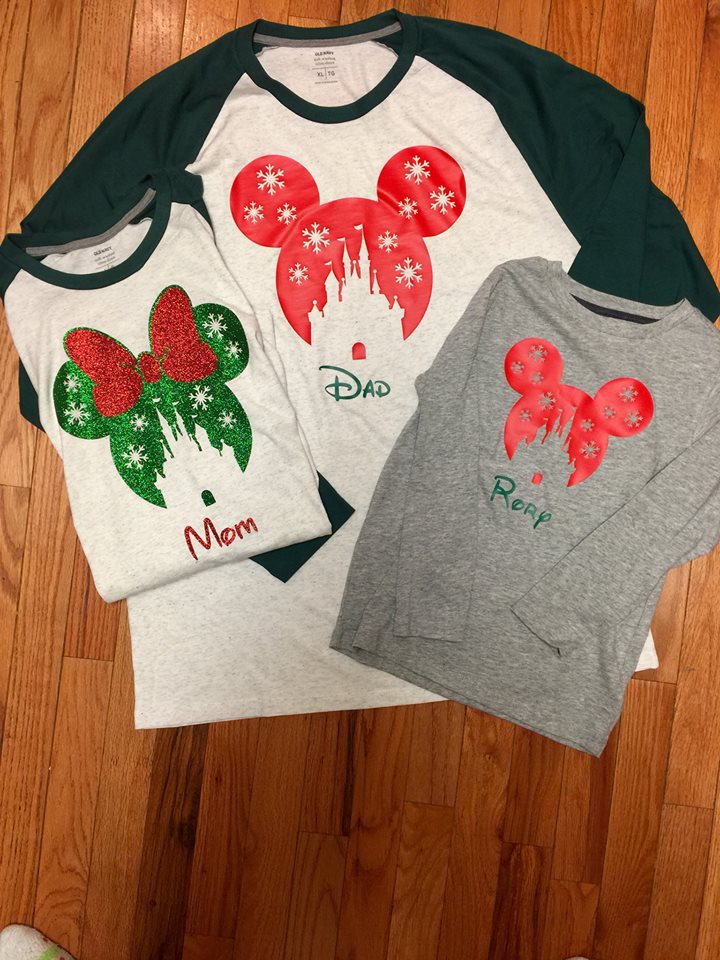
 Such Sweet Disney Shirts
The file was from Etsy, and I added the names.
 Feliz Navidad....with a taco Christmas dinner
I created this design.
 I loved wearing this to school teaching my littles.

 Sparkle All the Way (pale blue shirt with white glitter htv)
 Daughter of the KING
I designed this one.
Believe 
I designed this one.

Tuesday, June 26, 2018

Religious T-shirts

Each of these t-shirts were made with my Cricut machine.  I used files from the previous website Poplar and Pearl.  They are no longer in business.  I also uploaded some SVG files from Scout and Rose.  I used Siser Easyweed heat transfer vinyl, and they were pressed with a commercial grade heat press.  


Monday, June 30, 2014

Circuit explore t-shirt creations

So I received a Cricut Explore for Mother's Day from little man and the husband. I also have one of the very first Cricut machines and owned a Sizzix machine way back when.  I will say they have come a long way.  With the Explore I was able to electronically link all of my cartridges. You can connect to the website anywhere to work on your projects. All you do is connect your Cricut with the USB cable provided.  There are also settings for the depth of the blade that are much simpler than changing the dial position.  Set the dial to paper, vinyl, card stock, fabric, etc. It is pretty simple. We have a subscription to Circuit Design Space. It is well worth the money if you are going to use your Cricut often. So here are some shirts I've created so far.
The shirt above was a shirt I made for a friend's daughter, and the one below is the shirt I made for my friend. Everything from the shirt above was from Cricut Design Space. I actually found a monogram font for my friend's shirt. I bought both shirts at Hobby Lobby for about $3-$4.  The heat transfer vinyls above we're bought online while the black, sparkly heat transfer below can be bought at any craft store that sells Cricut. just make sure it is heat transfer and not just vinyl.  It was pricy though, and no coupons can be used on Cricut products. I think it's around $17.  FYI:  Heat it for a good, long while with the iron. I always put a towel underneath the shirt, a kitchen towel in between the shirt, and a pillowcase on top of the vinyl. also, read the directions carefully, and don't forget to check reverse image before you cut. 


The shirt below was a shirt for my friend's son. 


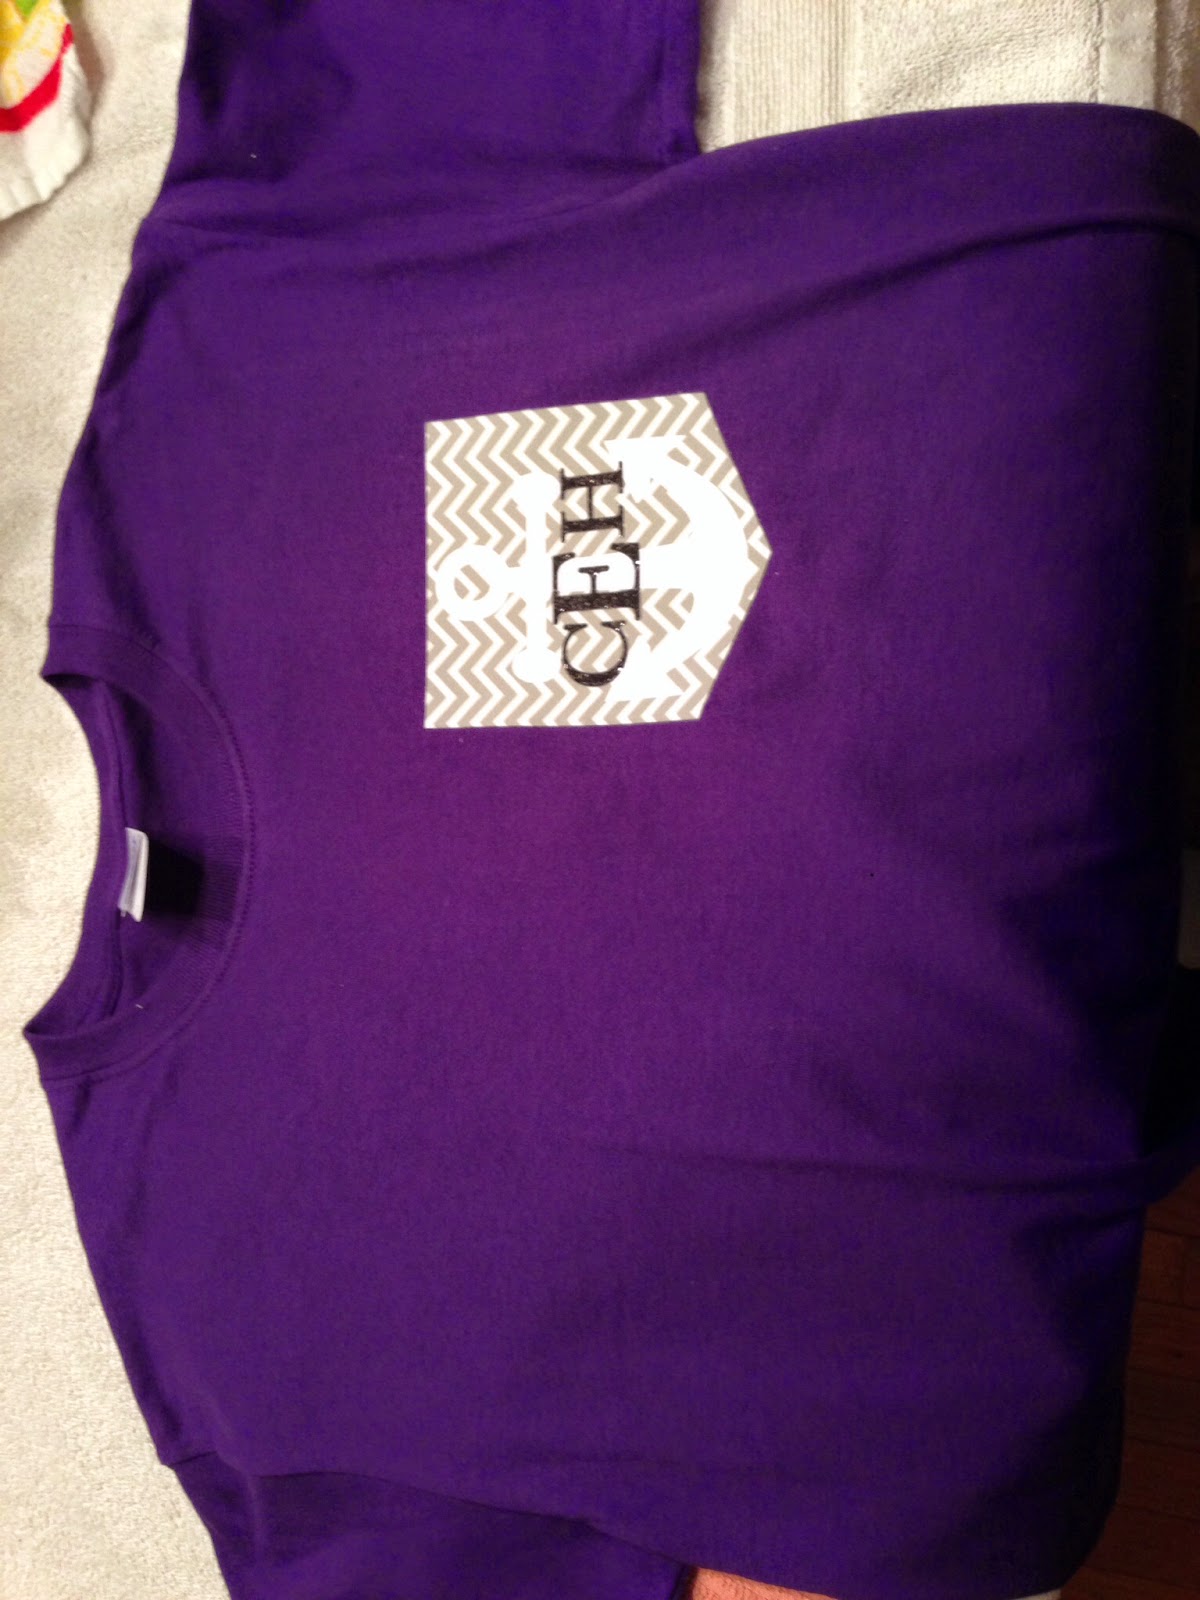
The shirts below were created using a pocket template (online), an anchor (online search), and a font from Design Space. I bought the chevron iron on fabric from Hobby Lobby as well as the white vinyl and the shirts. 


Wednesday, June 19, 2013

New baby

Wow, it has been a long time since I posted. I found out I was pregnant after my last blog. Since then I've had a beautiful baby boy. It's sometimes hard to post with a new baby.

Thursday, July 5, 2012

Red, White, and Blue felt flag

Patriotic Flag Wreath 


I made this using the instructions from Capital B's blog but I changed a few things. http://ssbuffat.blogspot.com/2010_06_01_archive.html

I used:
*plumbing foam tube
*6 red sheets of felt
*6 white sheets of felt 
*4 blue sheets of felt
*scissors
*3 boxes of 100 pearl head pins (sewing section of Walmart)
*Sharpie, Highlighter, pencil, or pen (to curl wire)
*jewelry wire (silver)

Step 1:  Create the wreath form by using plumbing foam tubing. 
I bought a plumbing foam tube @ Lowe's for less than $2.00.   Cut the tubing in half.  You'll have enough for two separate wreaths.  If you want your wreath to be 18" or 24", you can measure the tubing before cutting.  I measured out 24" for mine and still had enough for a for two wreaths.  Remove the vellum and carefully stick the piping together.  Then, Duct tape the ends together.  

Step 2:  Cut the Felt 
I found the felt sheets in the stationary/kid's craft section @ Walmart.  They were only about $0.23 per sheet.  If you can't find the sheets you can always use fabric from the bolt.  I couldn't find blue felt sheets so I bought a half yard on the bolt @ Walmart.  You'll only need about 1/4 a yard of the blue.


Cut the felt into 2" X 2" squares.  This takes quite a bit of time.  This is the most time consuming part.  You may want to put on some music or the television to complete this part.  


Step 3:  Folding and pinning the squares onto the wreath
Fold each square in half (diagonal/triangular) and then in half again (diagonal/triangular).  You can refer to the website above if you need pictures.  Carefully hold the folded felt and pin it at the end.  Connect four corners (of folded felt) together creating a "flower" with your felt.  I made about two/three rows of each color.  You can fill in as you see a need.  I covered my pearl pinheads by tucking another piece of folded felt into a nook over top of the pins.  I like the pearl head pins because if you do see them, they are pretty.  Colored pin heads don't look as great.  
Create the colors above by repeating this pattern until you have your desired amount of coverage.  I took leftover colors and folded them into crevices.  


Step 4:  Curl wire on a Sharpie, highlighter, pen, or pencil
Once the wire is your desired length, stick it into the blue part of the wreath and adhere a white star to the middle of the wire.  I printed off a star template and used it to trace and cut out tag board stars.  


Wednesday, June 20, 2012

How to Dye Cheesecloth

How to Dye Cheesecloth

There really isn't an exact method to this process.  Just make sure you don't add too much dye or put more than one cheesecloth into the washer/dryer at the same time.  

Materials needed:
*Cheesecloth...I bought mine in a small pack (36" x 3 yd) at Wal-Mart for $2.97, and cut it in half.  This comes in a clear, plastic bag (see below).  It is found in the sewing section.    
*Scissors to cut cheesecloth in half or fourths (larger pack)
*Rit Dye (Liquid or powder work fine.)
*Bucket (A car washing bucket works best.)
*spatula (can be bought @ dollar stores)
*pot to heat up water (I used a canning pot just to warm the water.)
*salt
*disposable gloves (especially if you are using powder)
*You may need to use a mask when using this dye if you don't have a window to open and are using this indoors.


Before I knew how much dye to put into the bucket of water, I put in the whole pack of green dye.  This is why the Lime Green is more like a forest green. I would suggest carefully adding your dye.  


Step 1:  Open up the cheesecloth packet.  Get your scissors, and cut the cheesecloth in half (if you are using the smaller package, 36" x 3 yd).  They will be a tad bit larger if you use the larger pack of cheesecloth and cut it into fourths.    


Step 2:  Heat up a pot of boiling water.  I usually just fill a canning pot about 1/2 to 3/4 full.  You will add salt into your pot after the water has boiled.  There is no set amount of salt that I use.  I'd say about three good pinches.
Step 2:  Open up a window if you are going to do this inside.  You may even want to turn on your fan.  The smell can fill your house; and it can cause a headache.
OR  You can take your bucket of boiling water outside along with your dye, spatula, and cheesecloth.
Step 3:  Put your Bucket into the sink.  When the water is very hot or boiling, you can transfer your water into your bucket.  Add a few pinches of salt.  There is no accurate amount.  

Step 4:  If you are dying your cheesecloth indoors, put some of your dye into your bucket of hot water.  If you are dying it outdoors, take your bucket of hot water outdoors before you add the dye.  
Remember you can always add more dye but you cannot take it away.  I would start with just a little bit.  Cheesecloth soaks up lots of dye.  It will develop a tad bit richer color after it has been soaking.  The more dye you put into the bucket, the darker/richer the color will be.  Below you will see the difference in adding a little color vs. adding a lot of color.  I added just a little bit of dye for the lighter one and about half a bottle/box of dye for the darker/brighter one.


Step 5:  You can wash your cheesecloth with laundry detergent (hand wash) or just wet it with cold water.  Carefully add your wet cheesecloth to the bucket of dye.  Like I said earlier, you can always add more dye.  As soon as you've put your cheesecloth into the dye you will be able to lift it out of the water (with your spatula) to determine if you need to add more dye.  Gradually add enough dye until you are satisfied with the color.      

Step 6:  The cheesecloth needs to sit in the dye about 20-30 minutes.  Some bottles say continuously stir and others say stir often.  I usually stir about every five/ten minutes.  You can continuously stir if you have the time.

Step 7:  After 20-30 minutes have passed you may use the spatula to carefully pick up the cloth to ring out.  This is where you will definitely need your gloves.  If you are inside, the bucket will still be in the sink.  You can just transfer the cloth to the other side of the sink and rinse out.  When I did this outside I put on my gloves, rang out the excess dye very well, and brought it inside to rinse it in the sink.  


Step 8:  Here you will need to use laundry detergent to wash the cheesecloth.  I suggest you use cold water to wash out your cheesecloth.  You may choose to wash your cheesecloth in the washer.  However, I was warned on a previous blog that you do not put more than one cheesecloth into the washer or dryer.  They will tangle!  I just hand washed the cloth in the sink and rang them out until there was no dye present in the water.  I actually used laundry detergent made specifically for babies.  I am using these cloths for maternity and newborn photography.  


Step 9:  Dry your cheesecloth.  I have dried the cloth by hanging them on hangers in the laundry room.  With this method they will be more stiff.  You can just pop them into the dryer, after they have dried on the hanger, to soften them up.  I have also dried them in the dryer.  This works well but set your dryer on the gentle cycle, and only put one cheesecloth in the dryer at a time.  This only took about fifteen minutes (with my newer dryer).    


Step 10:  Rewash your cheesecloth (if you wish).  I was concerned about the dye irritating a baby's skin.  I washed and dried my cheesecloth three times.  Each time a little bit of the dye was still present, even after I had rang it clean previously.  It will shrink a little bit.  However, rewashing will help the cheesecloth become more pliable and softer.  This is recommended if you are going to wrap babies in this material.   
                                      

Step 11:  Enjoy!  You now have cheesecloth to use in newborn photography, maternity sessions, or other projects.  


Warning:  If you are going to use these material for photography, make sure you are supervising the baby.  Never leave a baby unattended with this material.  Just like most materials, a baby could suffocate if the material covers their face for long periods of time.      


<a href="http://pinterest.com/pin/create/button/?url=http%3A%2F%2Fhousetohomecrafts%40blogspot.com&media=http%3A%2F%2Fhousetohomecrafts.blogspot.com%2Fsearch%2Flabel%2FHow%2520to%2520Dye%2520Cheesecloth&description=How%20to%20Dye%20Cheesecloth" class="pin-it-button" count-layout="horizontal"><img border="0" src="//assets.pinterest.com/images/PinExt.png" title="Pin It" /></a>